For this card, I used a free digital image from AJ's Digi Shoppe during OWH Memorial Weekend Bloghop May 25-27, 2013 since it is matching with designer papers that I have.


I am so happy to see those who (as of today 17 persons x 8 cards+ = 136 cards+) took my One Sheet Wonder challenge that you can see the template at OWH Tuesday Tutorial - the One Sheet Wonder. Also many commenters mentioned how it helped them to make cards easier. So I am going to show more variations that WE can try with OWH S&S Weekly Sketch Challenge. This will be a great motivation.
Here is my slight modification of this week's Sketch #174 to make 12 cards for your reference. Please excuse my scribbles. It shows my thought process working on the measurements. It helps!

12"x12" Designer paper #1
- cut 4"x12" first, 4"x12" second, and the rest will be 4"x12"
- cut 3"x4" the same sized to make 12 pieces

12"x12" Designer paper #2
- cut 4"x12" first, 4"x12" second, and the rest will be 4"x12"
- cut 2-1/2"x4" the same sized to make 12 pieces, 3 smaller extra pieces that you can make another card.
NOTE: I cut this one piece into 3 pieces again to make 3 panels since it is a double sided paper. I trimmed 1/8" off the bottom piece. Otherwise, you would add another piece of strip to cover it from the leftover colored cardstock as per the sketch #174.
NOTE: I cut this one piece into 3 pieces again to make 3 panels since it is a double sided paper. I trimmed 1/8" off the bottom piece. Otherwise, you would add another piece of strip to cover it from the leftover colored cardstock as per the sketch #174.

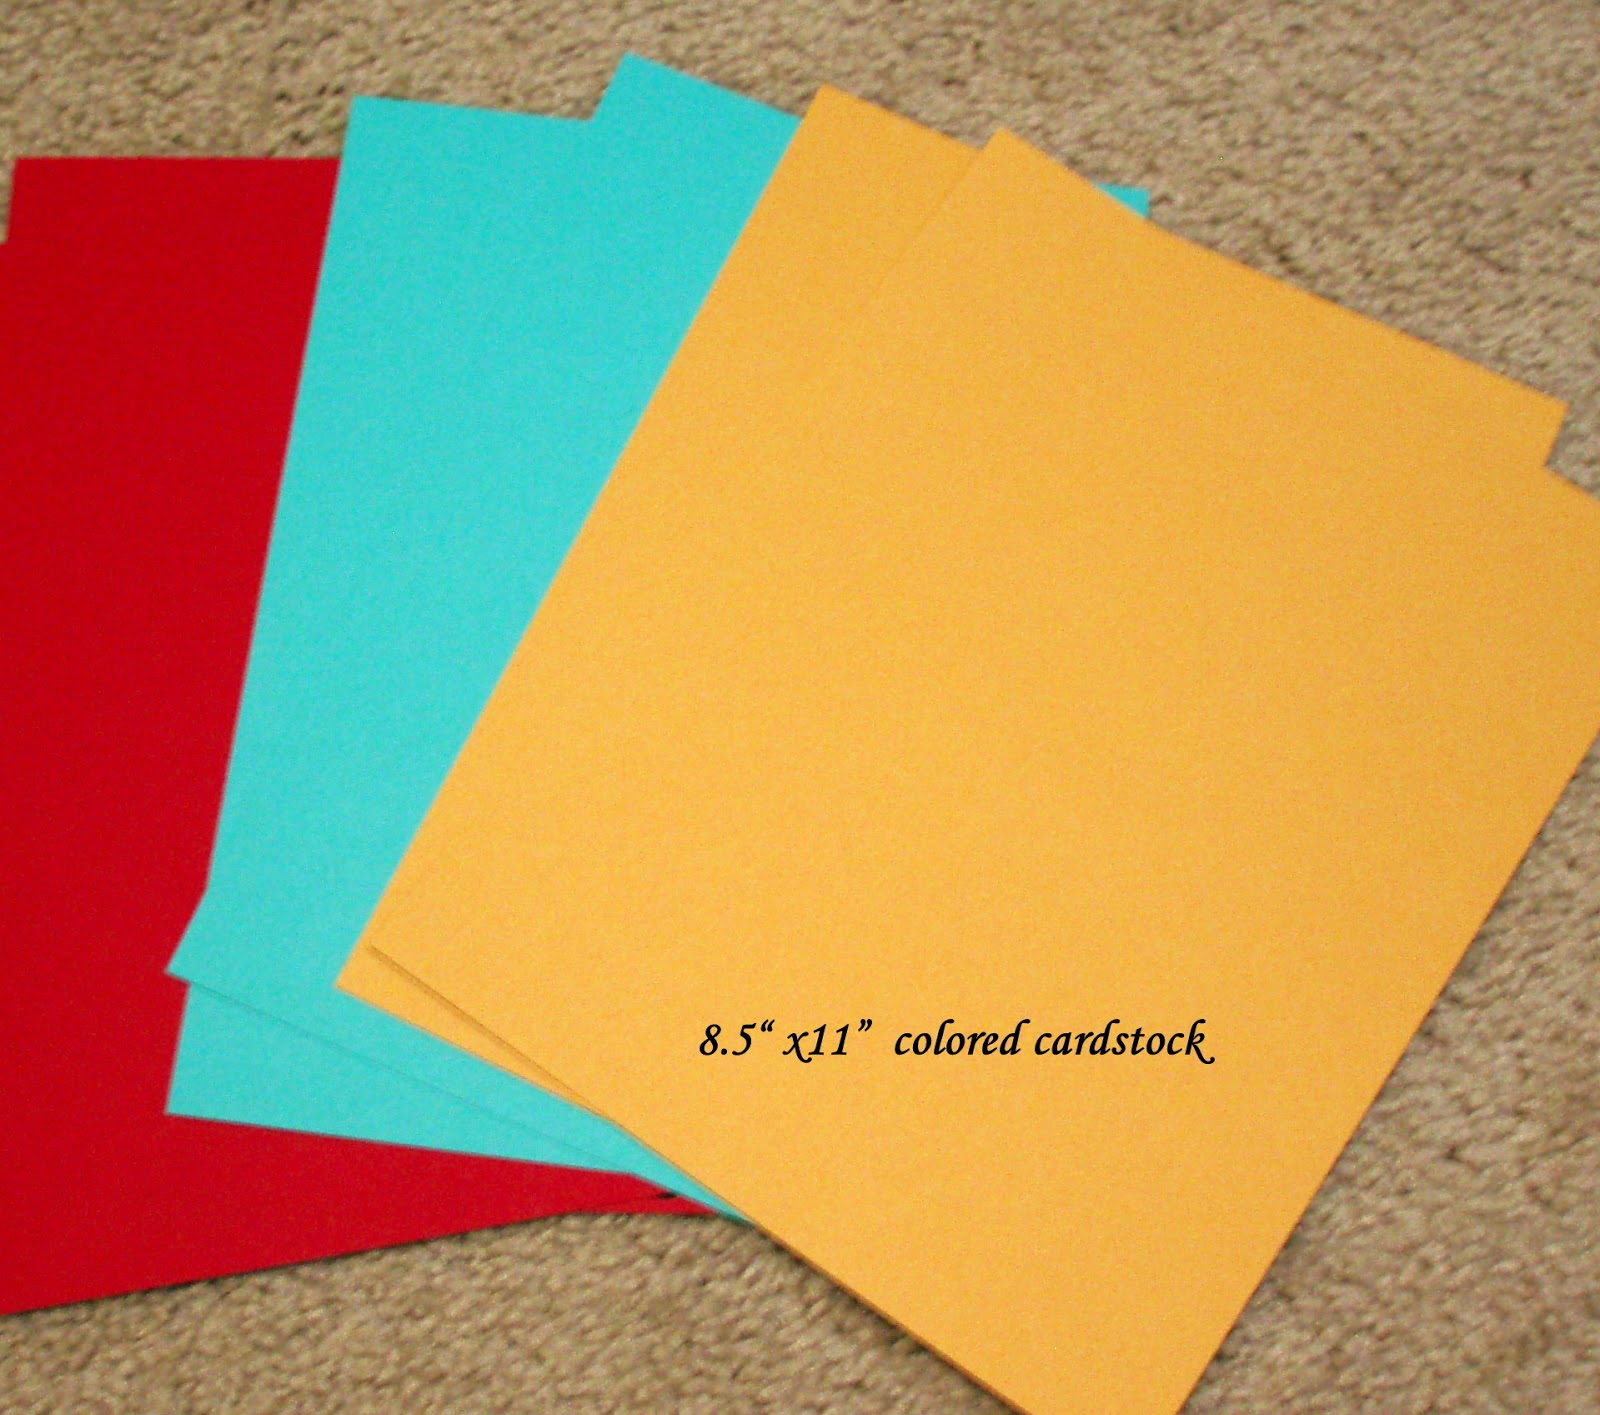
Colored Cardstock - 5 sheets of 8.5"x11" in 3 matching colors (I used 1 red, 2 blue and 2 yellow.)
2 sheets of colored cardstock #1 for designer paper #1
- cut 4-1/4"x11" first
- cut 3-1/4"x4-1/4" the same sized to make 12 pieces, 4 smaller extra pieces

1 & 1/2 sheets of colored cardstock #2 for designer paper #2
- cut 4-1/4"x11" first - cut 2-3/4"x4-1/4" the same sized to make 12 pieces
Rest of 1/2 sheet- cut 12 strips of 3/4"x2-1/2 sized, some left overs

1 colored cardstock to punch out mat for the image and sentiment.

Here is one sample card and all the pieces that are ready to assemble.
I punched out the image with 2" circle punch and the mat with 2-3/8" scallop circle punch.

Thanks for stopping by!

Wow. I really love all your colors and the tutorial for making more with less is fabulous!
ReplyDeleteThank you, Christy!
DeleteThank you for this new diagram for this weeks OWH sketch. I can't wait to try it.
ReplyDeleteYour image used on the card is fun! That embossed strip is perfect. I still have yet to do your 12 by 12 paper tutorial yet; but I did download it! Thanks for sharing.
ReplyDeleteYour cutting instructions are tutorial are fabulous and I really appreciate you sharing that! I LOVE the papers you used and you combined them all perfectly.
ReplyDeleteWhat great cards. I love the pinwheel image.
ReplyDeleteI'm impressed with your paper selection!
ReplyDeleteYou absolutely amaze me with how you take the guesswork out of it for all of us who want to make lots of cards! This pinwheel card is so cute, and thank you for sharing all of these great ideas with us!
ReplyDeleteAnother great post on making multiples! You make it look so easy!
ReplyDeleteBeautiful card! I love the colors and patterns. Thanks for the tutorial!
ReplyDeleteLove your pinwheel card and the nice bold colors. I'm very impressed how you can keep coming up with more figurations of One Sheet Wonders. And I"m flattered to see my sketch card on your measurement sheet.
ReplyDelete