I am so happy to see those who (as of today 17 persons x 8 cards+ = 136 cards+) took
my One Sheet Wonder challenge that you can see the template at
OWH Tuesday Tutorial - the One Sheet Wonder. Also many commenters mentioned how it helped them to make cards easier. So I am going to show more variations that WE can try with OWH S&S Weekly Sketch Challenge. This will be a great motivation.
Here is my slight modification of this week's Sketch #174 to make 12 cards for your reference. Please excuse my scribbles. It shows my thought process working on the measurements. It helps!
12"x12" Designer paper #1
- cut 4"x12" first, 4"x12" second, and the rest will be 4"x12"
- cut 3"x4" the same sized to make 12 pieces
12"x12" Designer paper #2
- cut 4"x12" first, 4"x12" second, and the rest will be 4"x12"
- cut 2-1/2"x4" the same sized to make 12 pieces, 3 smaller extra pieces that you can make another card.
NOTE: I cut this one piece into 3 pieces again to make 3 panels since it is a double sided paper. I trimmed 1/8" off the bottom piece. Otherwise, you would add another piece of strip to cover it from the leftover colored cardstock as per the sketch #174.
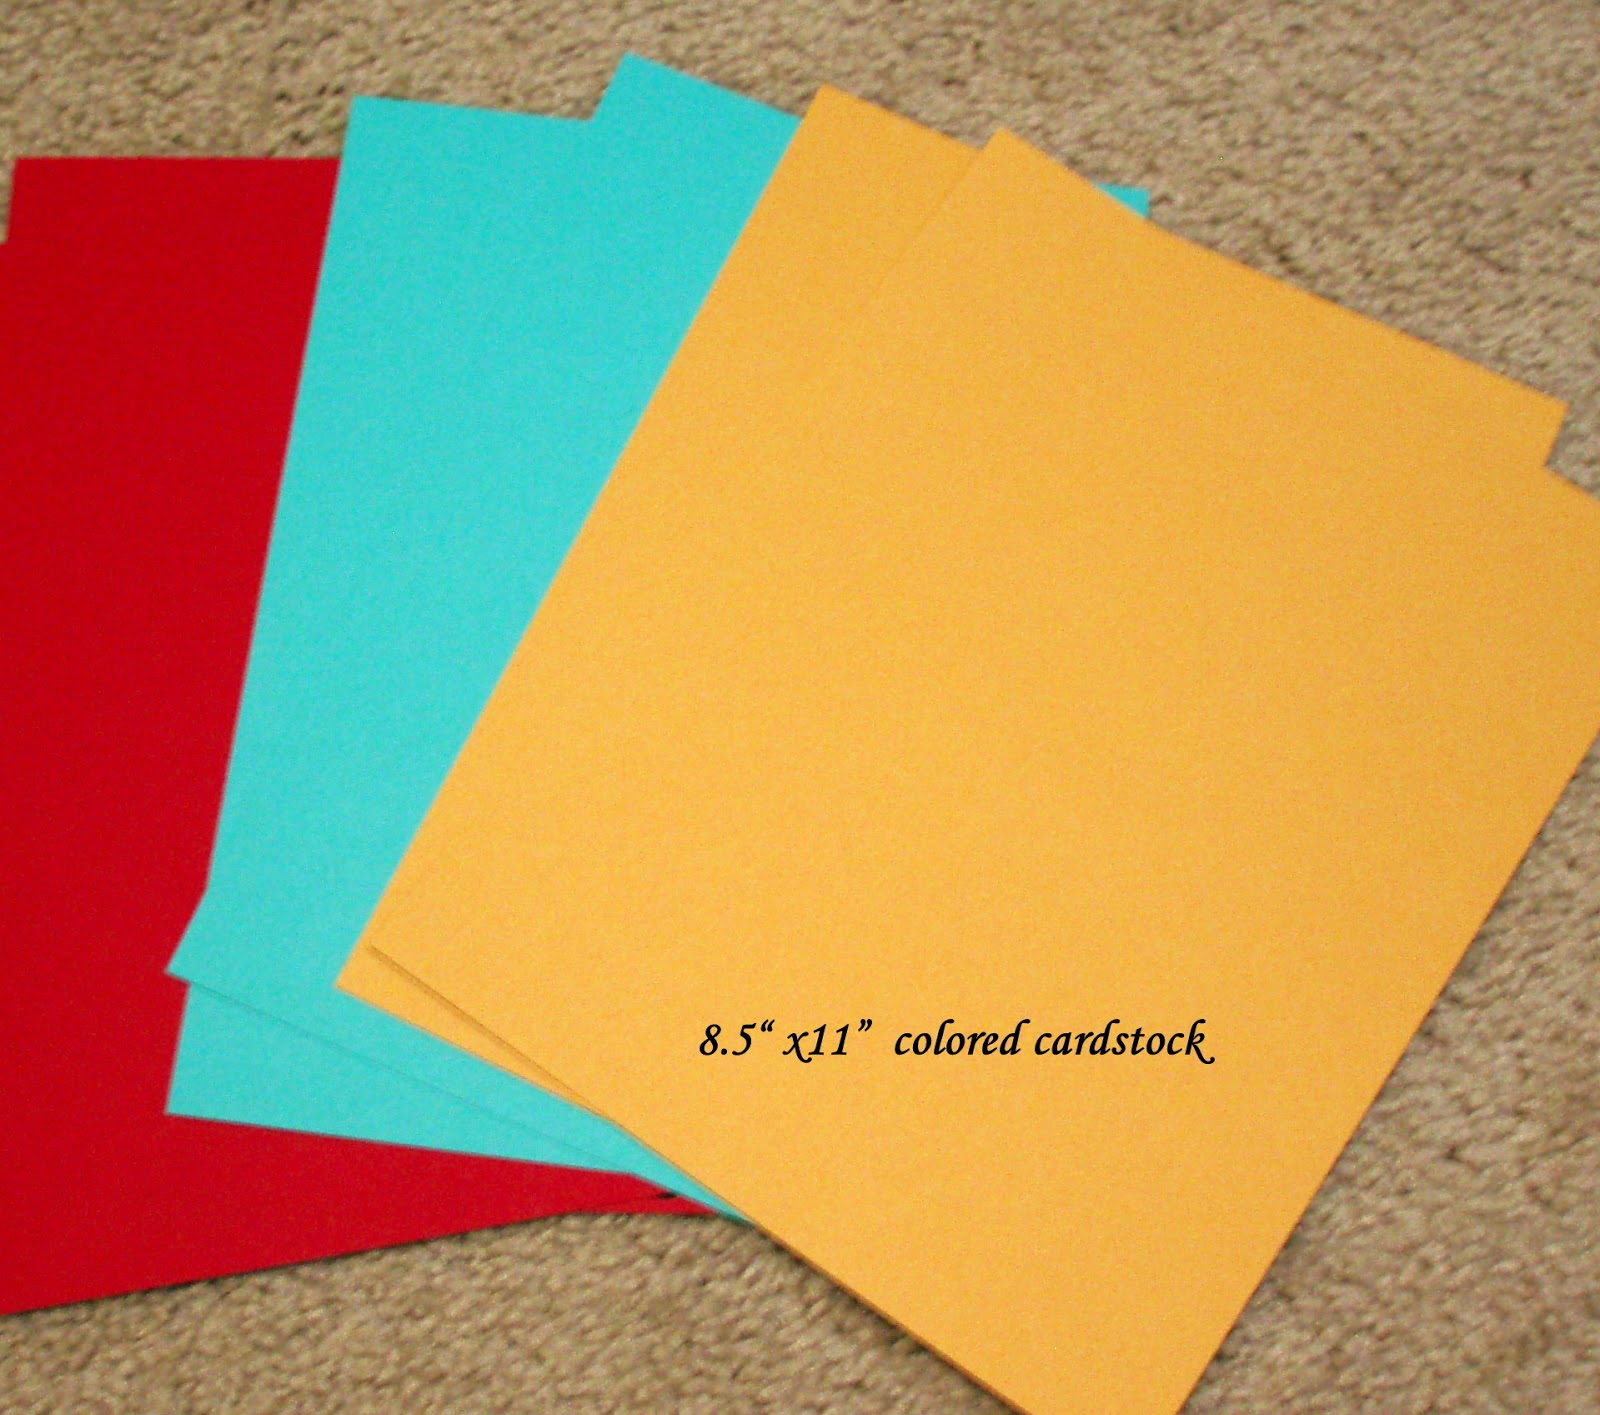
Colored Cardstock - 5 sheets of 8.5"x11" in 3 matching colors (I used 1 red, 2 blue and 2 yellow.)
2 sheets of colored cardstock #1 for designer paper #1
- cut 4-1/4"x11" first
- cut 3-1/4"x4-1/4" the same sized to make 12 pieces, 4 smaller extra pieces
1 & 1/2 sheets of colored cardstock #2 for designer paper #2
- cut 4-1/4"x11" first
- cut 2-3/4"x4-1/4" the same sized to make 12 pieces
Rest of 1/2 sheet- cut 12 strips of 3/4"x2-1/2 sized, some left overs
1 colored cardstock to punch out mat for the image and sentiment.
Here is one sample card and all the pieces that are ready to assemble.
I punched out the image with 2" circle punch and the mat with 2-3/8" scallop circle punch.
Thanks for stopping by!